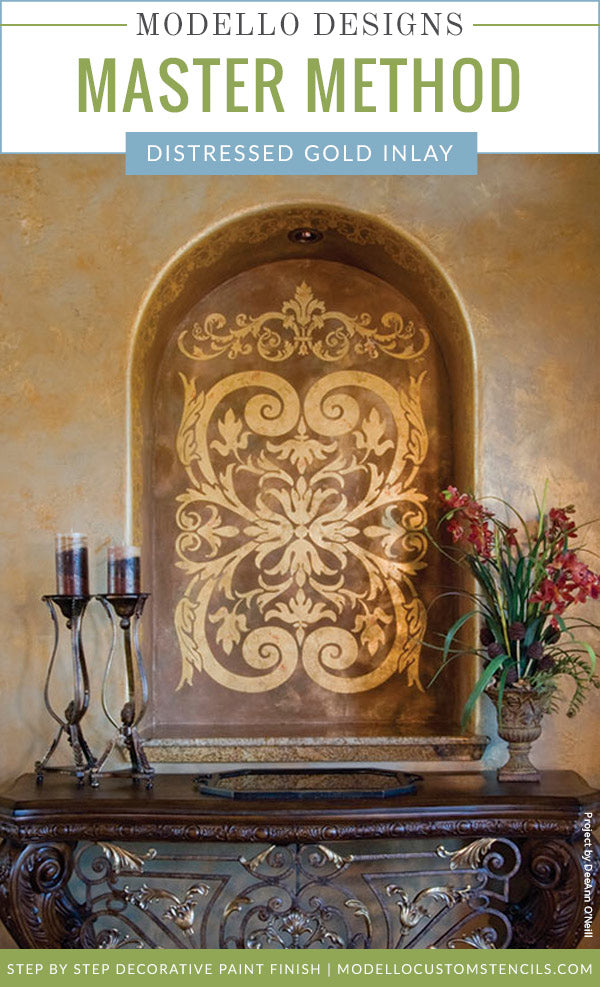
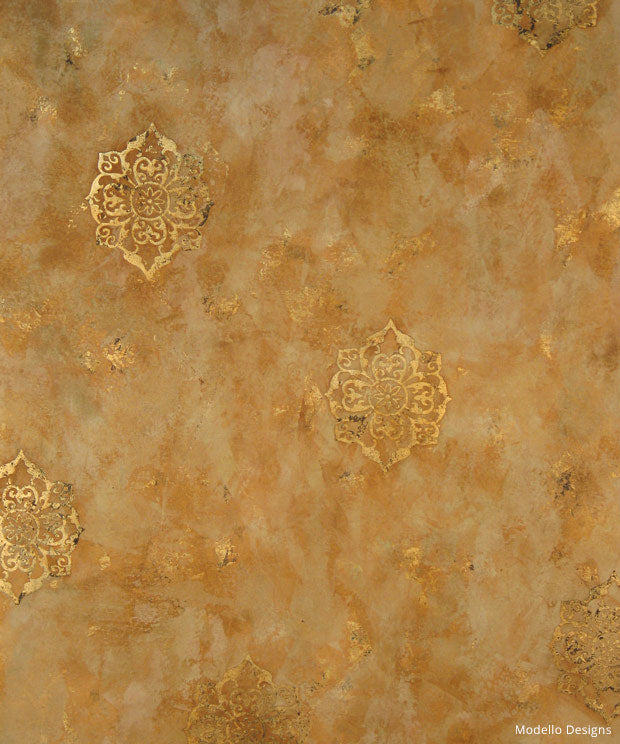
Distressed Gold Inlay Plaster Wall Finish
Easily one of the most popular finishes we've created! This patterned technique combines distressed gold leaf with metallic plaster. We use a Reverse/Negative Weed vinyl stencil to create a rich, shimmering inlaid design. This is a gorgeous decorative finish for walls and ceilings!
- Choose from our Custom Stencil Collection. Select (Reverse/Negative Weed) under Stencil Image Options. Contact Modello® Stencils customer service to order this design.
Faux Effects International® Products: Order via our Affiliate Link Here
- Lusterstone: Brown Suede, Antique Parchment, Green Onyx, Chantilly Lace
Tools: Order via Royal Design Studio Here
- Composition Gold Leaf (in books or loose Schaibin leaf)
- Wundasize (or similar water-based size for leaf)
- Liberon Wax: Medium Oak
- Ebony Black Stain & Seal
- Venetian Trowel
- Soft Rubber Trowel
- Sea Sponge, Cheesecloth
- ¼” nap roller and tray
Basecoat: Black

Step 1: Roll on a thin, even coat of size overall with a short-nap roller. For 100% coverage, roll first vertically and then horizontally. Allow to dry 15-20 minutes (minimum) until the size “comes to tack”.
Step 2: Apply composition gold leaf in a broken leaf or “schaibin-style” manner. For small projects you can simply remove individual leaves of gold from a “book”. For large areas purchase loose, boxed Schaibin leaf from Royal Design Studio for a very quick application-up to 600 sq. ft. a day. Leave some “open” areas for a more distressed look, if desired.
Step 3: (Optional/Not Shown) Thin the Ebony Stain & Seal (or a brownish/black acrylic paint) with water and flyspeck across the surface with a chipbrush or toothbrush. Allow the gold leaf/flyspecked surface to dry overnight.
Step 4: (Not Shown) The next day, apply your Reverse/Negative Weed Modello® stencil according to our basic application instructions.
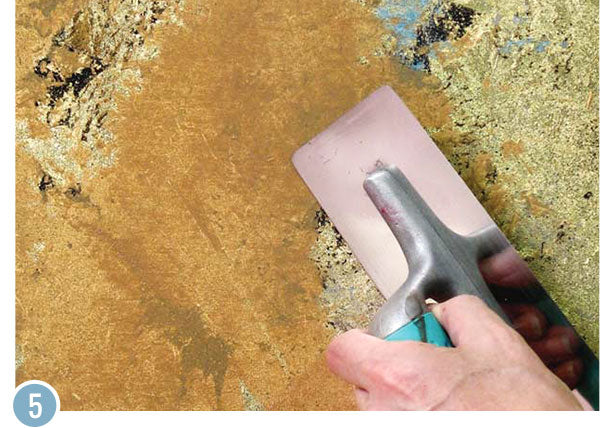
Step 5: Trowel on a thin, slightly textural layer of Brown Suede Lusterstone, leaving about 20% of the leafed background exposed. Work in a small, manageable area and change the direction of your troweling as you work. You will want to apply the Lusterstone thinly enough in areas so that the background texture and color comes through. Work in small areas

Step 6: Immediately trowel over a fresh area of Brown Suede with Antique Parchment, blending slightly and creating more light texture with your trowel work.
Step 7: At the same time or after the previous layer has dried, apply small random patches of both Green Onyx and Chantilly Lace. You can blend back over these slightly with the two previous colors. Note that these colors will get much darker in the next steps.

Step 8: When the Lusterstone has dried remove the Modellos and apply a thin layer of Liberon Medium Oak wax with cheesecloth. Let dry.
Step 9: Load a soft rubber trowel with additional Medium Oak wax and trowel over the surface to add more depth of color and to highlight the recessed areas of the designs and the finish. Smooth out any harsh lines or excess wax with cheesecloth as you go.
Coverage Tip: For a “broken leaf” application you can expect to get 2-3 sq. ft of coverage from each book of leaf (25 sheets). Loose Schaibin composition gold leaf can be purchased in 100gram boxes that will yield 70-100 sq. ft dependant on application. Both are available from Modello Designs.

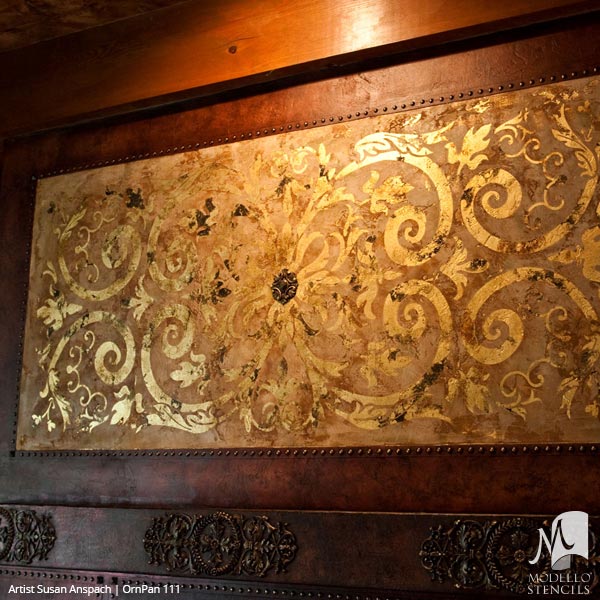
Inlaid Gold Square Panel: The same technique and colors were used with our OrnTile116. In this case the leaf was applied almost 100% over the background, resulting in a slightly different look. This makes a fabulous dramatic finish that is ideal for ceilings and panel insets.
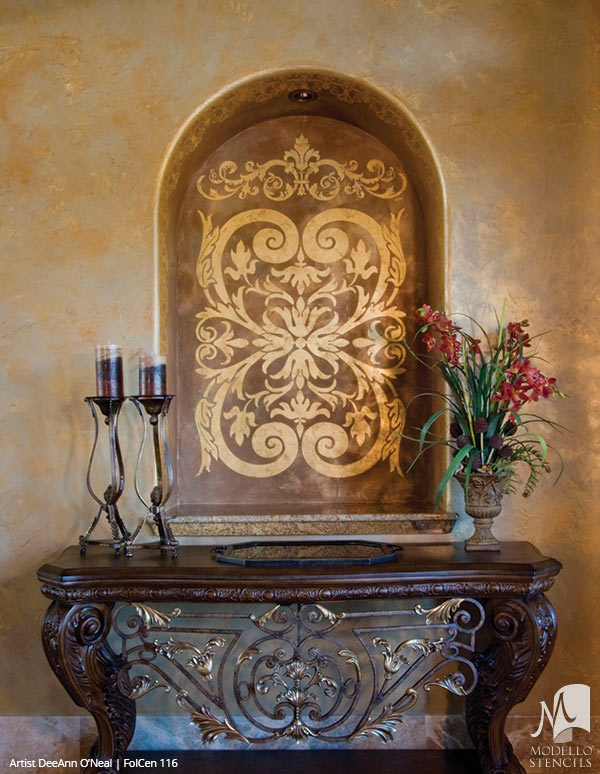
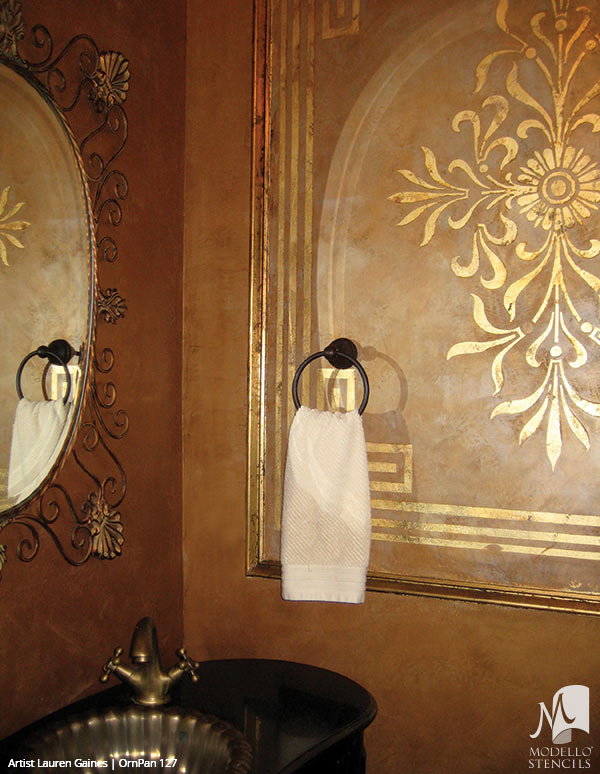
More inspiration: Susan Anspach, Dee Ann O'Neal, Lauren Gaines, and Tamara Clark did a beautiful job using this technique with our custom Modello® Stencils below. This is a great techique for niches, framed panels, and dramatic ceiling spaces.